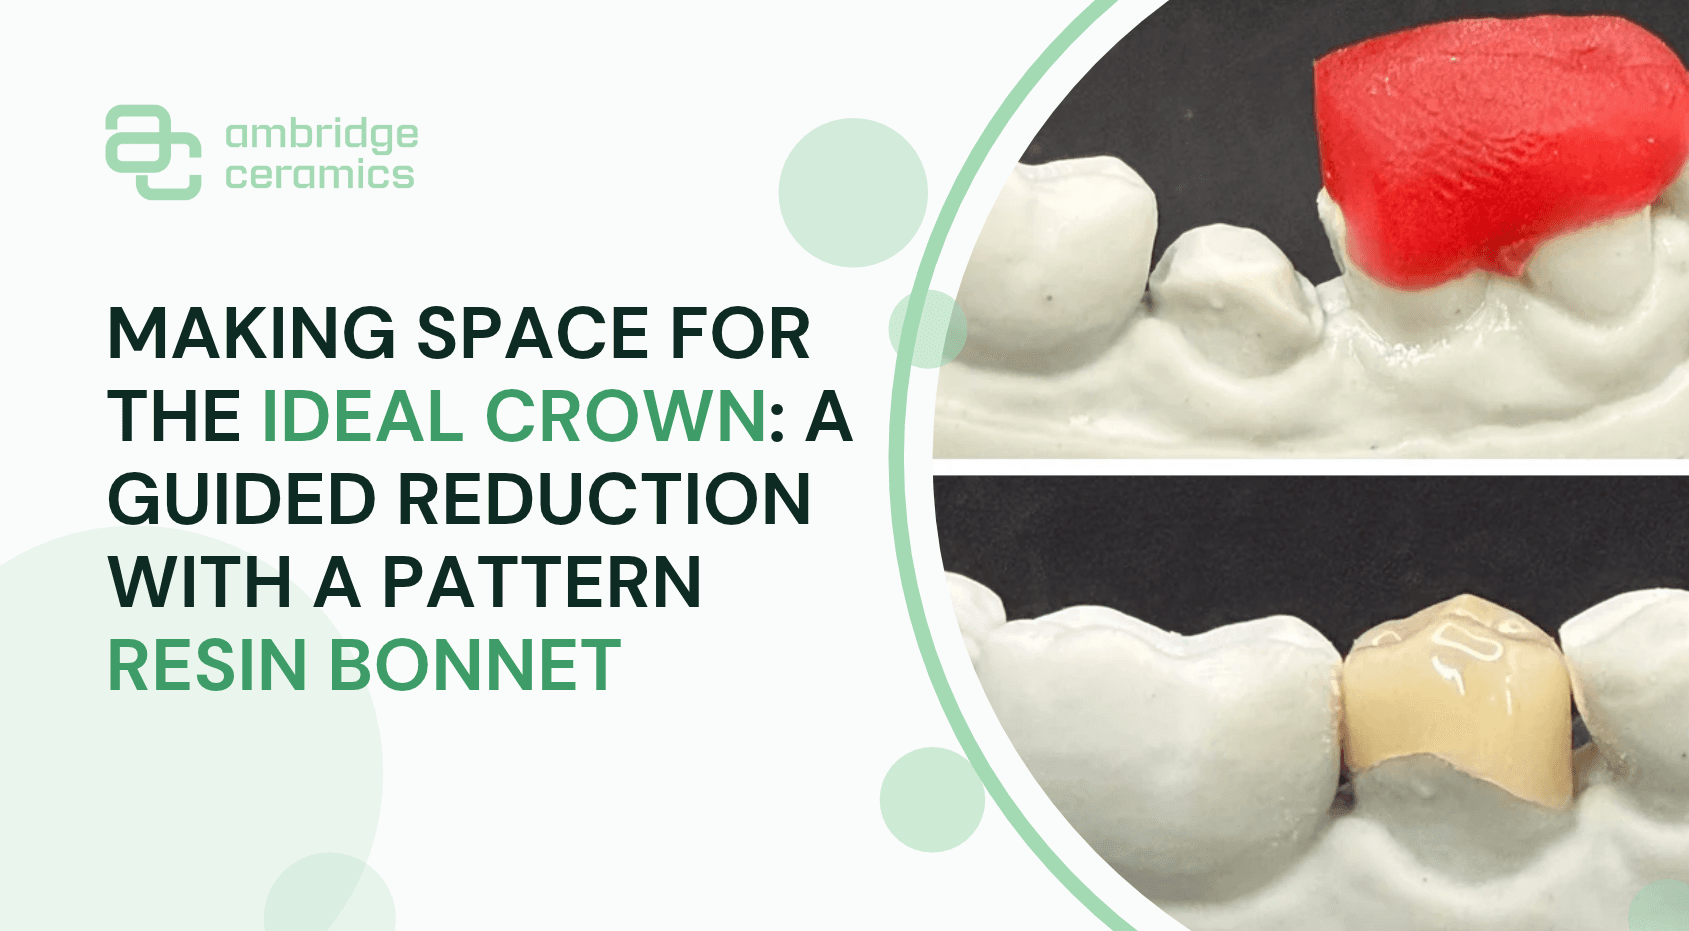
Making space for the ideal crown: a guided reduction with a Pattern Resin bonnet
When a tooth breaks down and is left for a while, the neighbouring teeth rarely stay put. Without a contact to hold them, adjacent teeth tend to drift or tip into the space. By the time the tooth is restored, the room for a well-shaped crown has often shrunk.
That was the situation in this case. The patient needed a new crown on a broken-down LR5, but the adjacent teeth had drifted into the space. A crown made to fit the space as it stood would have been too narrow and poorly contoured, with a compromised contact area and a difficult path of insertion.
The clinician asked us to plan a small, controlled reduction of the distal surface of the LR4. Removing just enough tooth structure would let us give the new LR5 crown its ideal shape, improve the path of insertion and create a proper contact area.
The challenge with any adjustment like this is transferring it precisely from the model to the mouth. Too little and the crown still won't fit as planned; too much and healthy tooth structure is lost unnecessarily.
Our solution: a Pattern Resin Reduction Bonnet
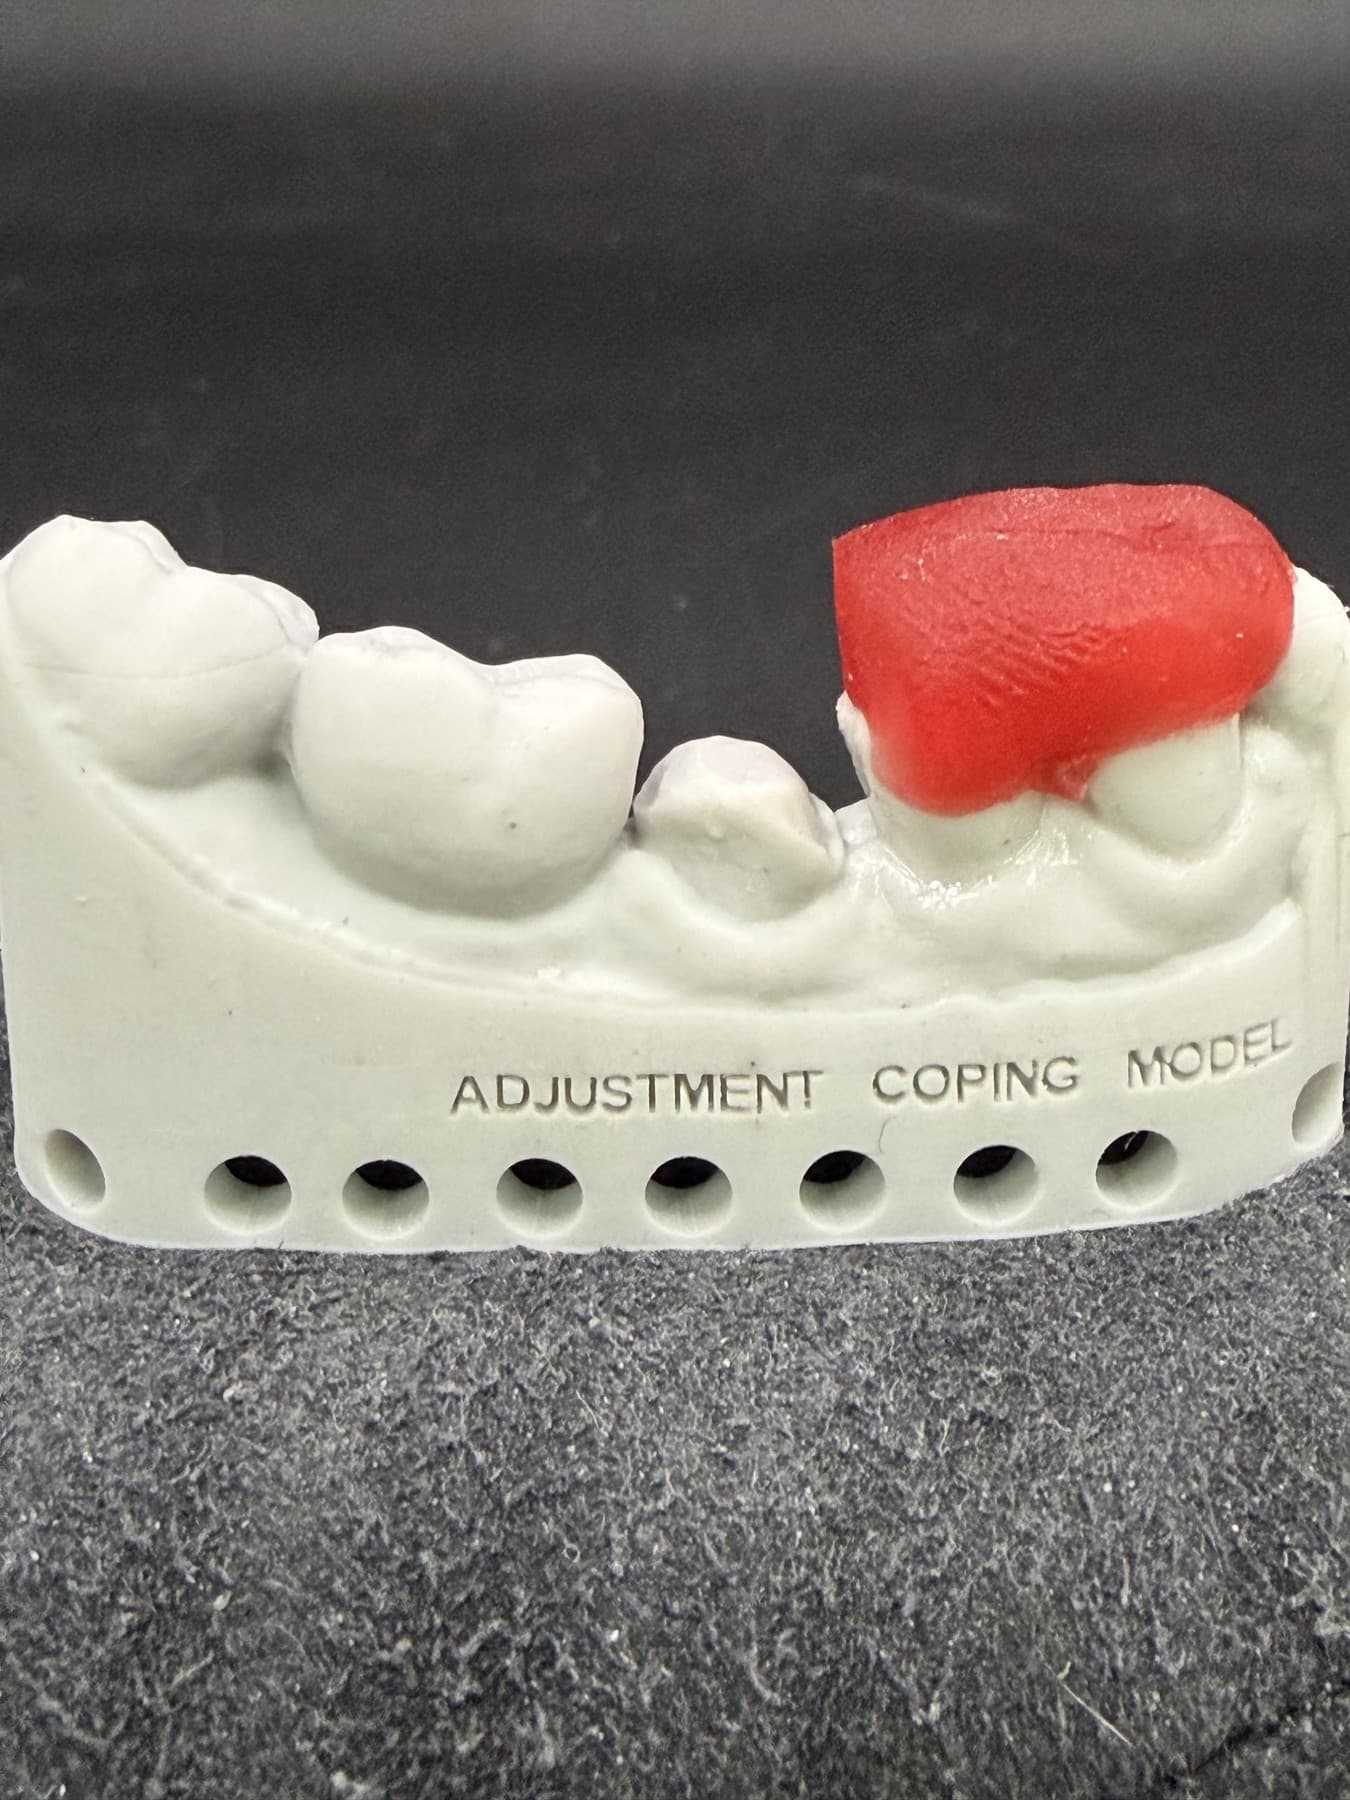
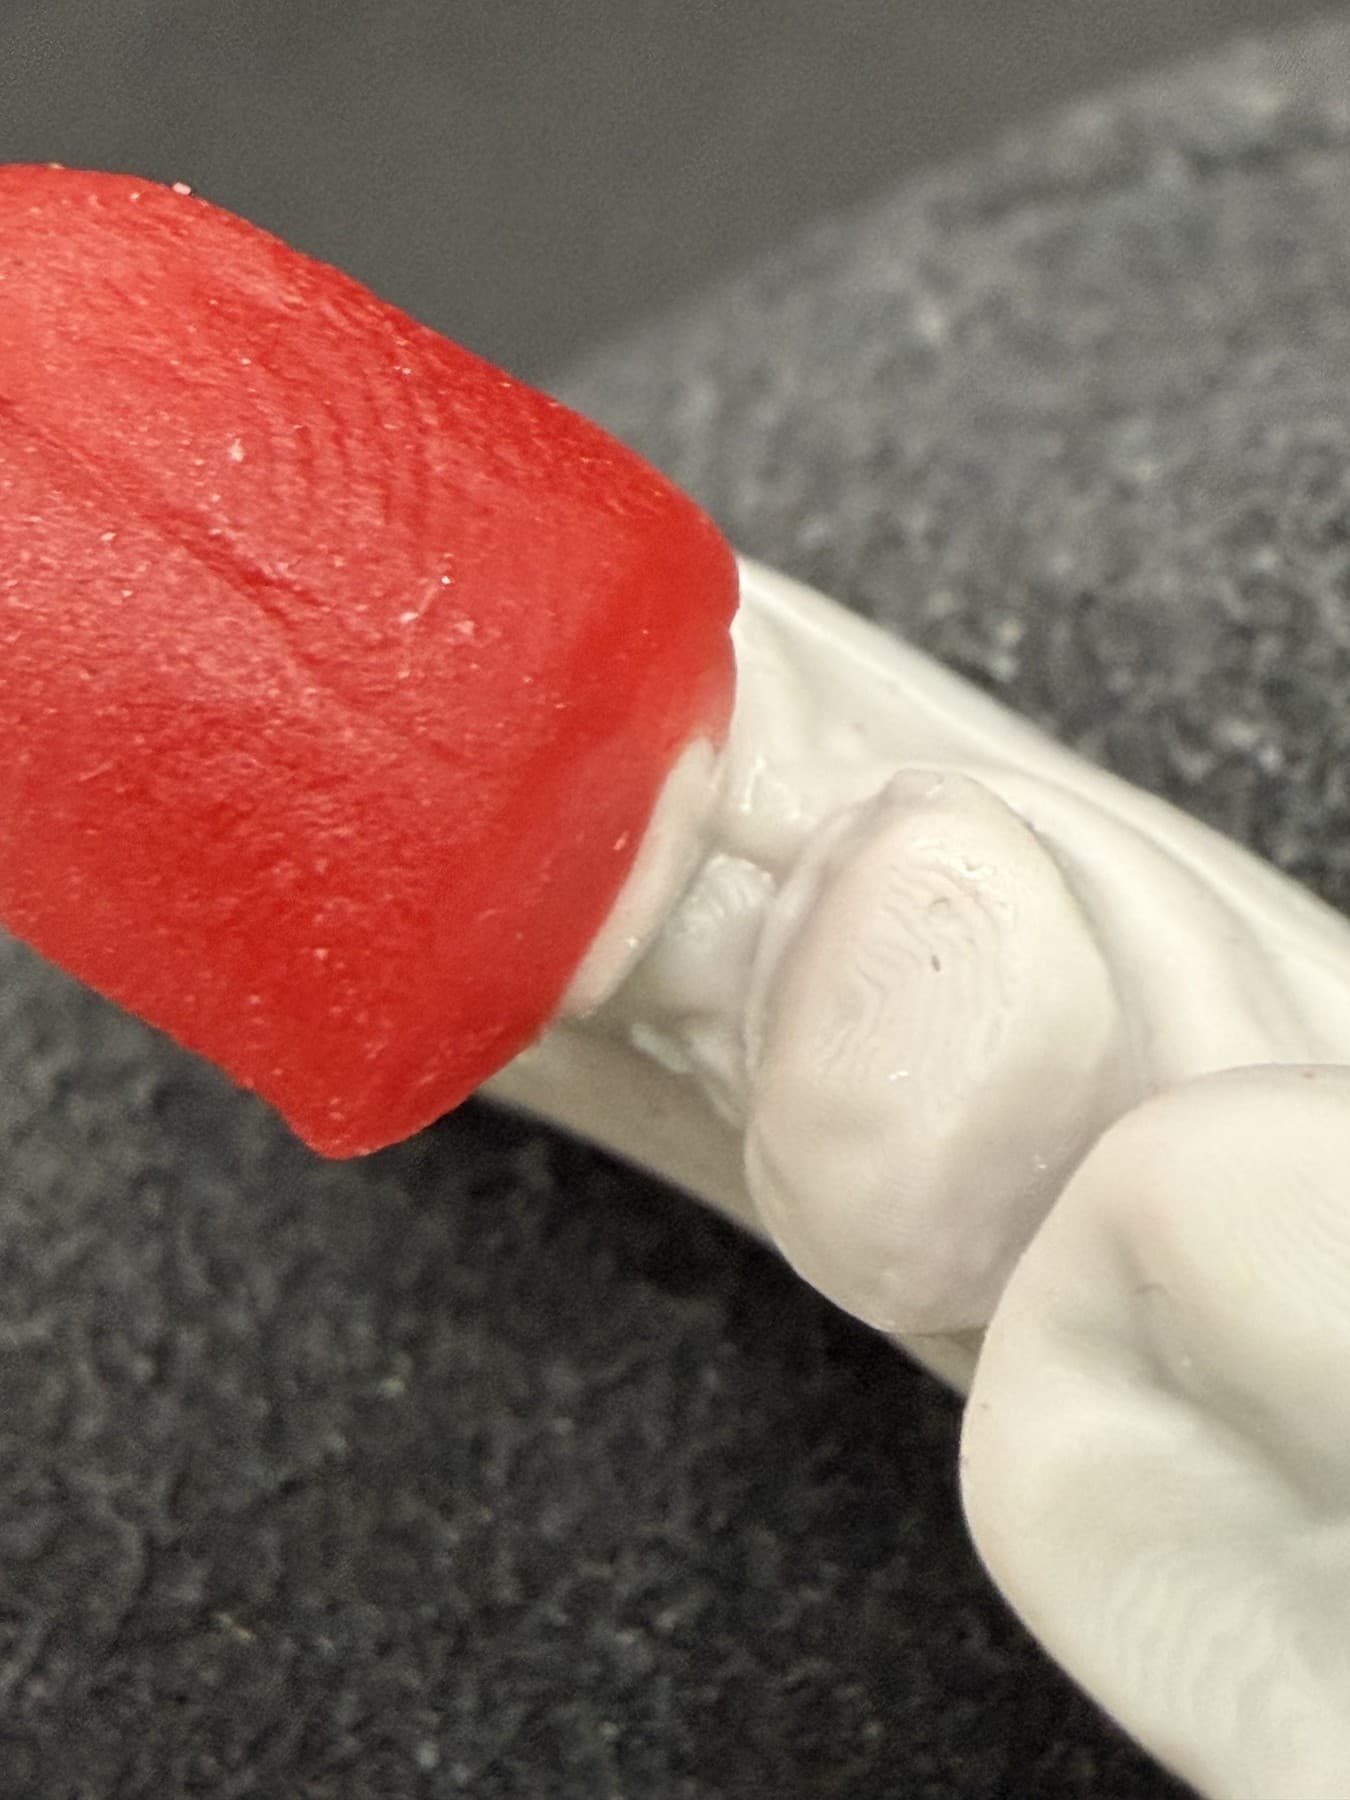
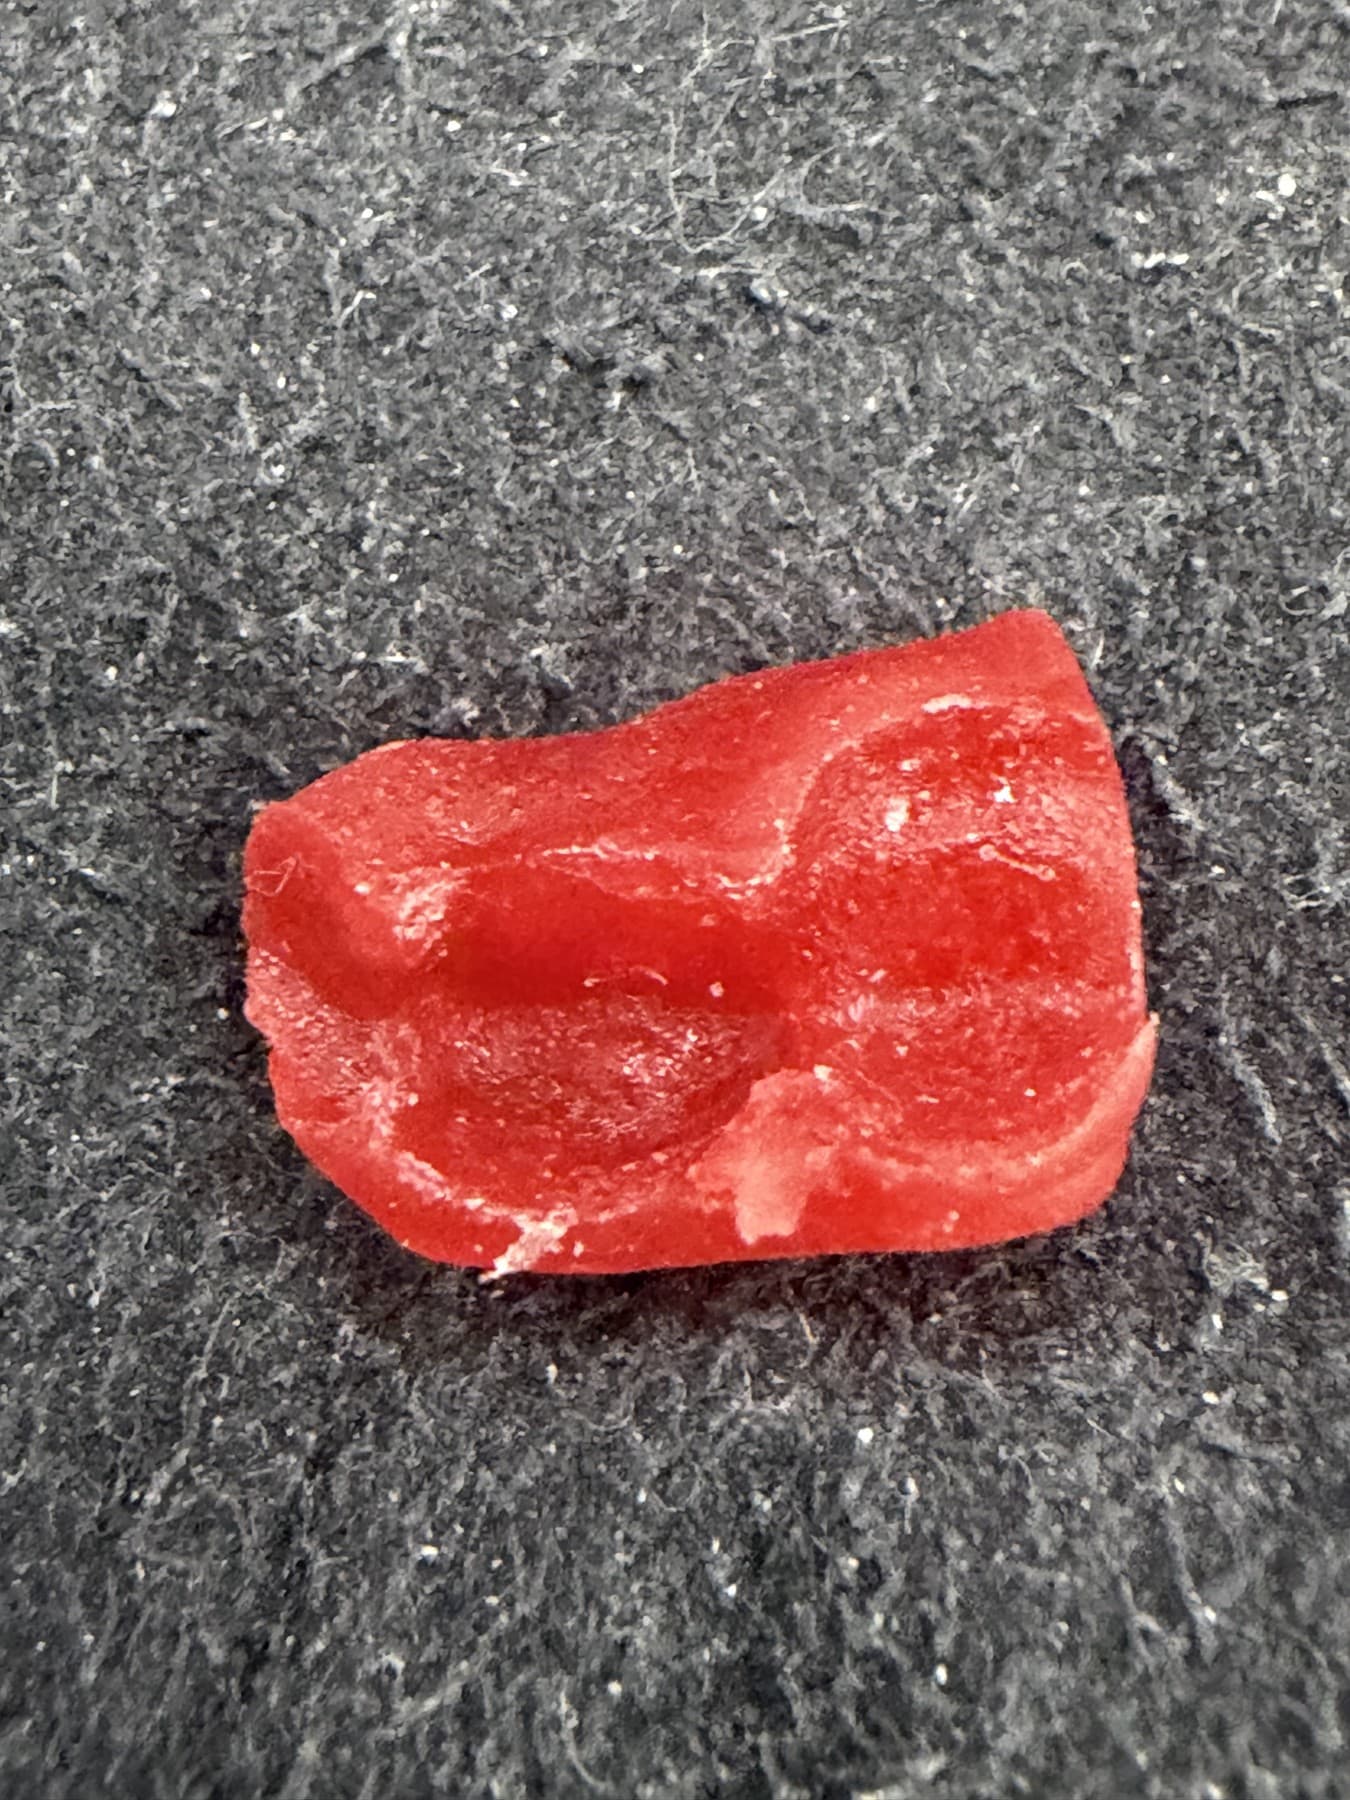
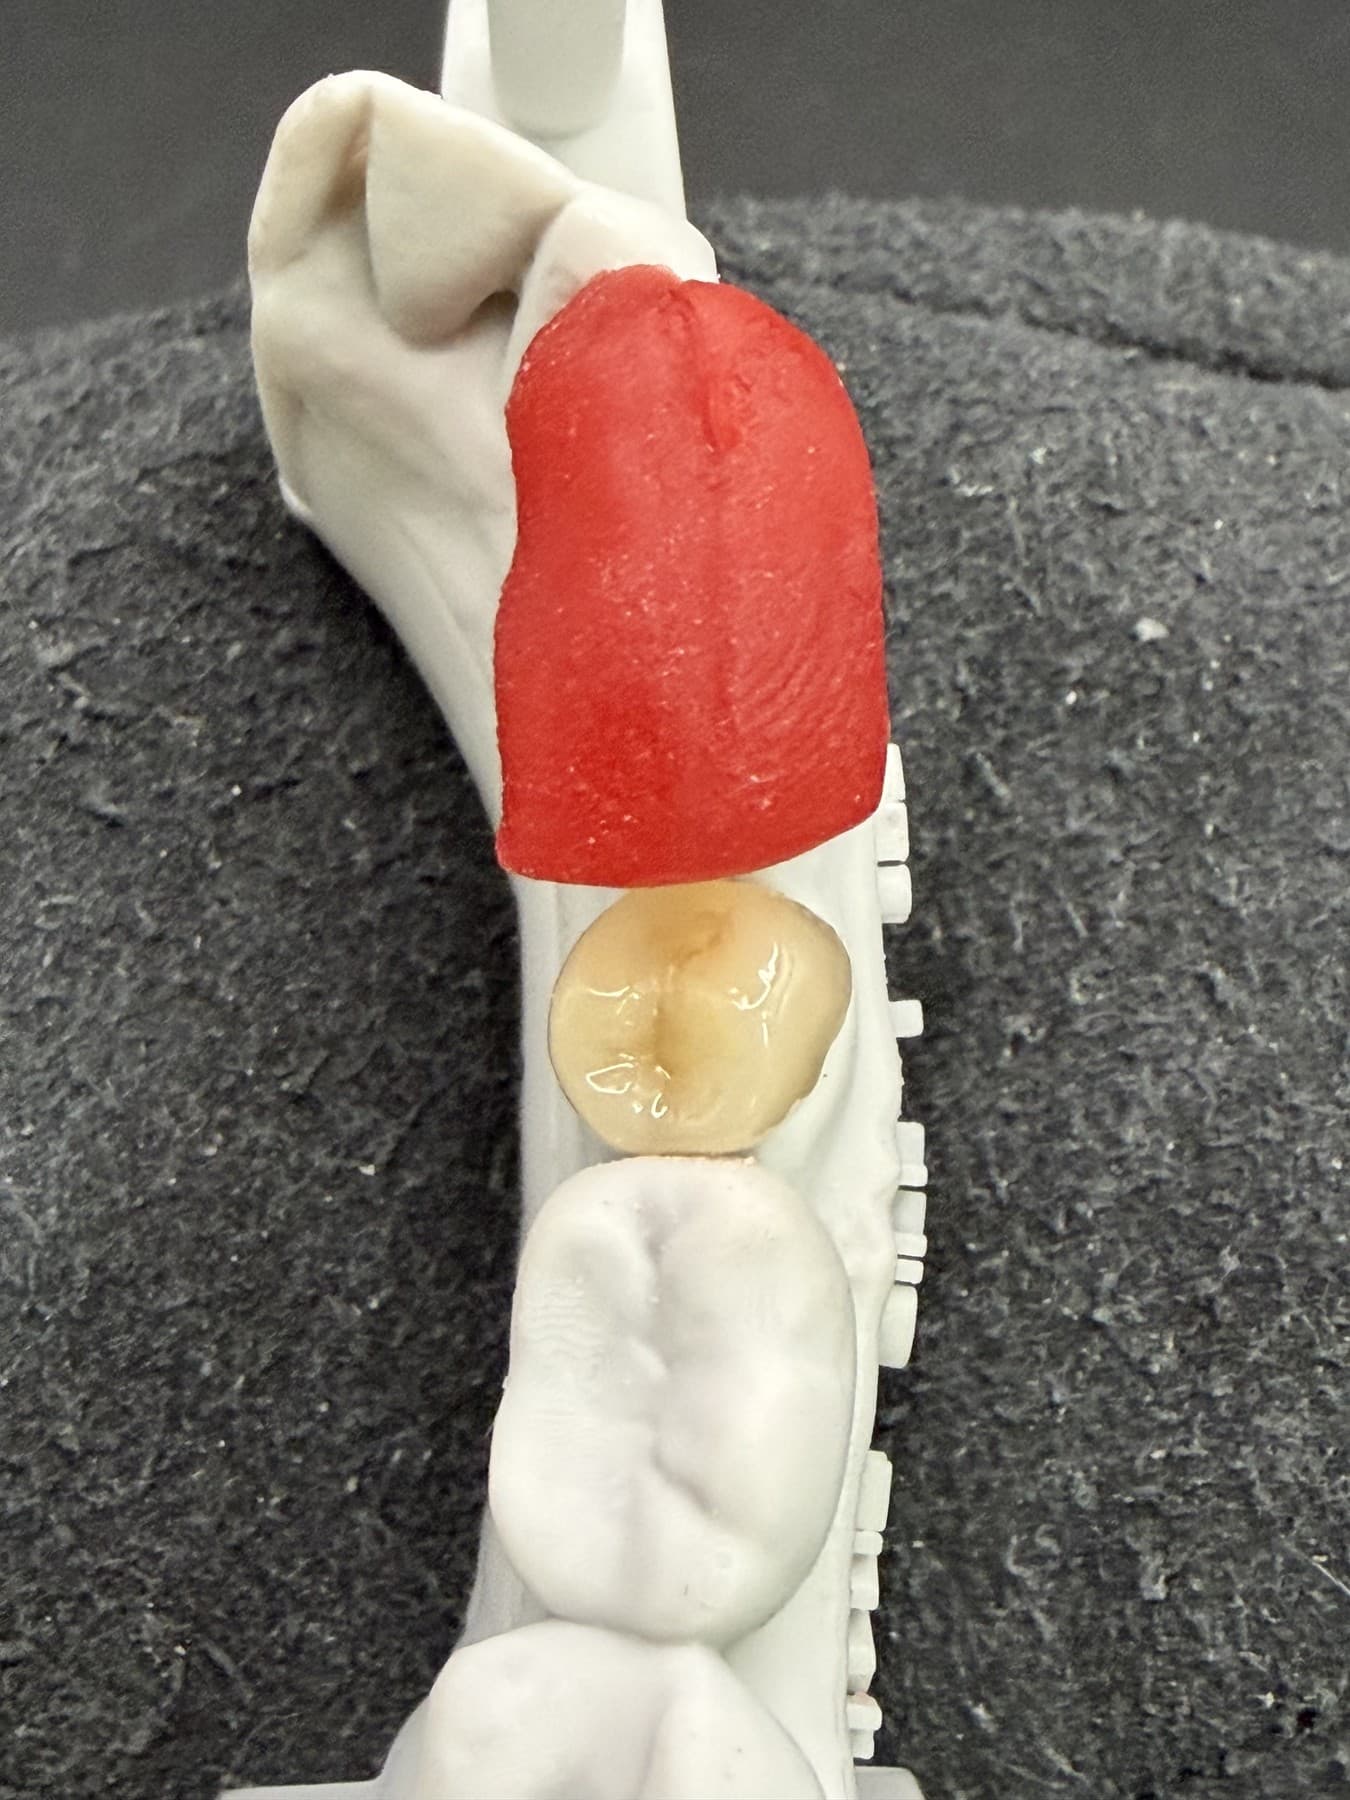
We made a Pattern Resin reduction bonnet that fits over the LR4. This technique provides a practical way to transfer the planned reduction from the laboratory model to the clinical setting.
It does two jobs:
1It shows the clinician the planned reduction
We carried out the reduction on the model first, and the bonnet copies it exactly.
2It guides the reduction in the mouth
The bonnet has a flat “cut-off” area on its distal surface. With the bonnet seated, the clinician reduces the exposed tooth structure with a diamond bur, following the flat face until it's flush. Only the planned amount is removed, no more and no less.
The result
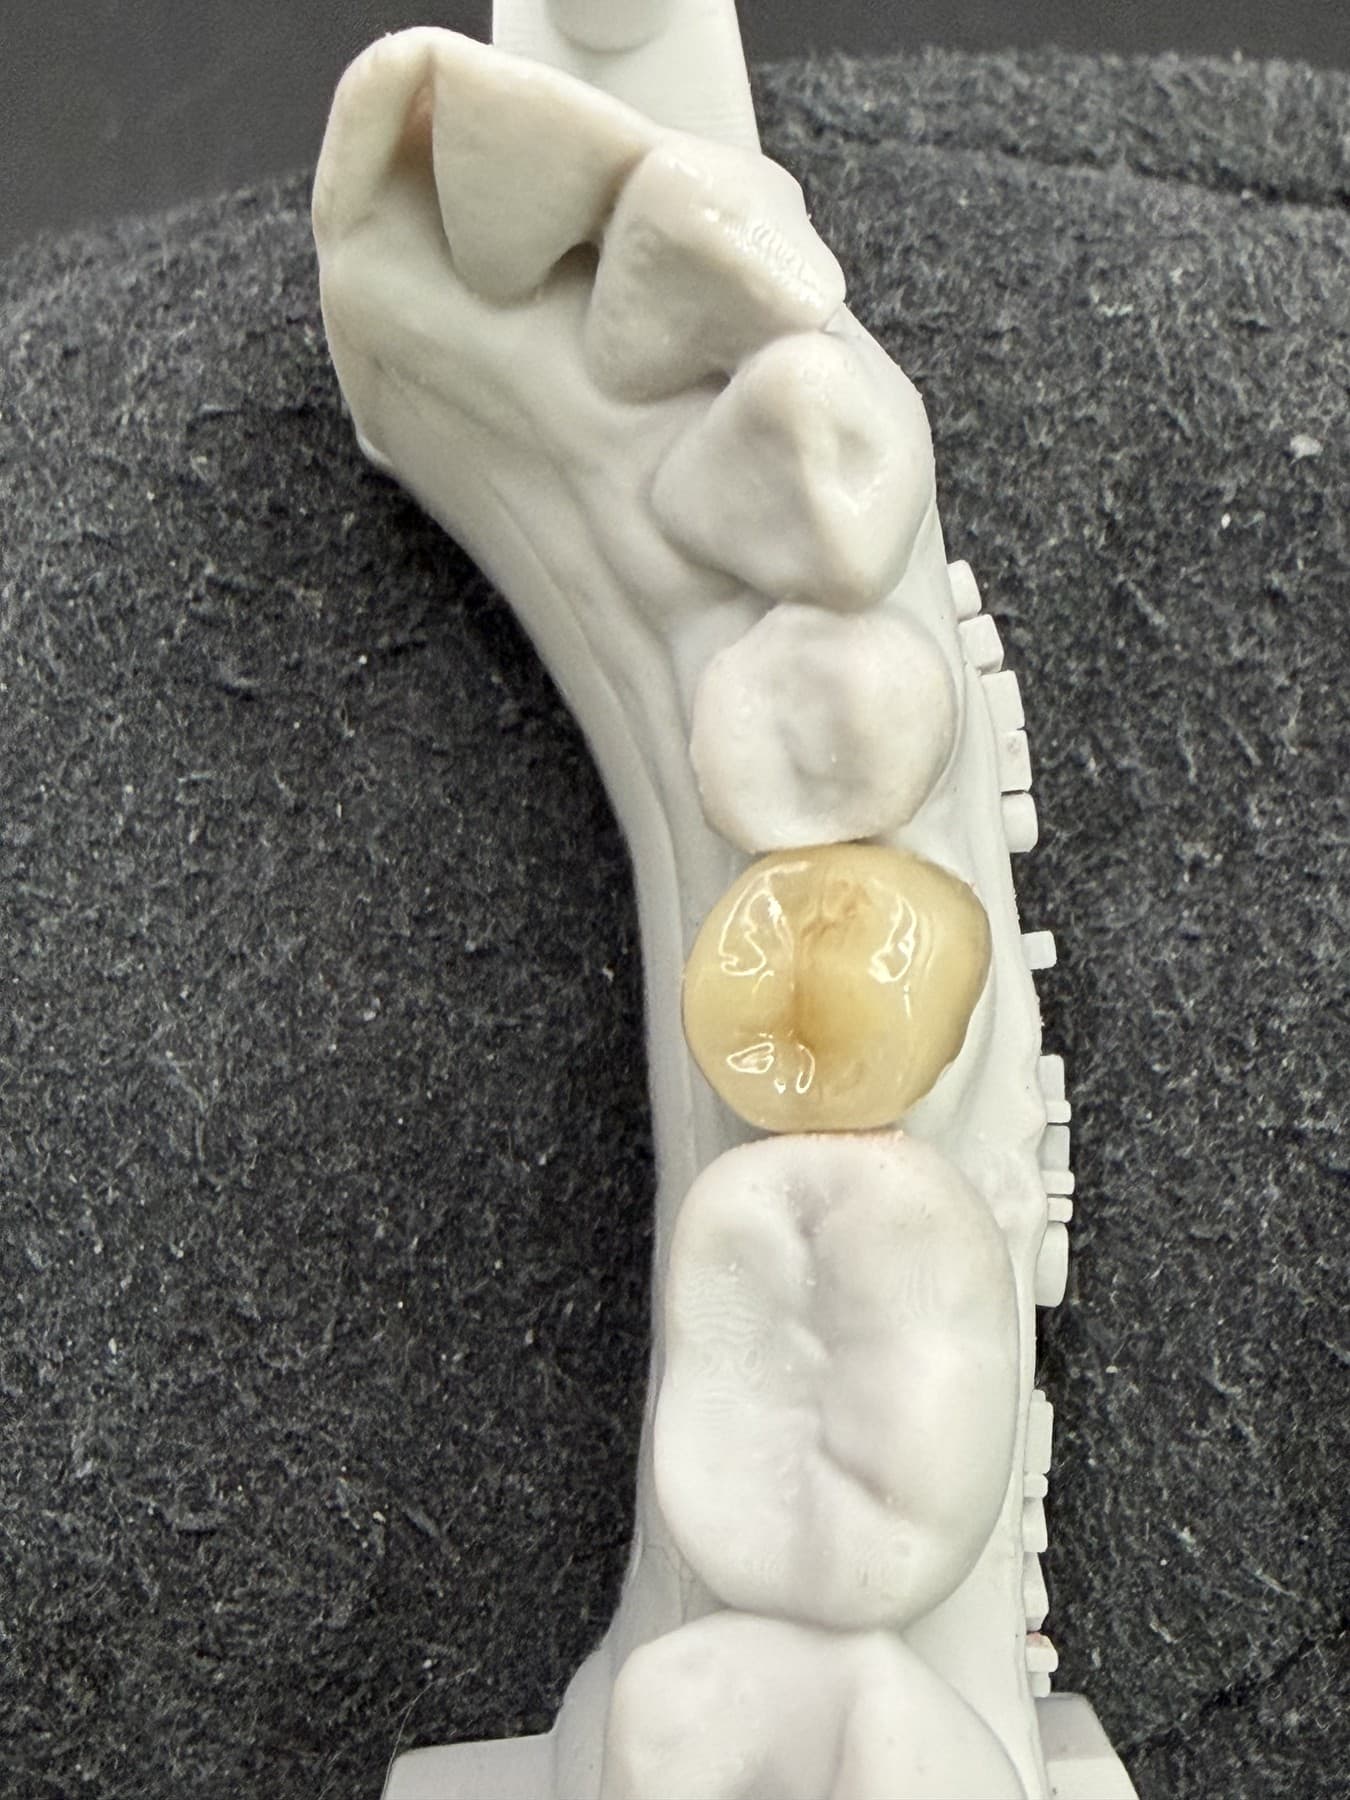
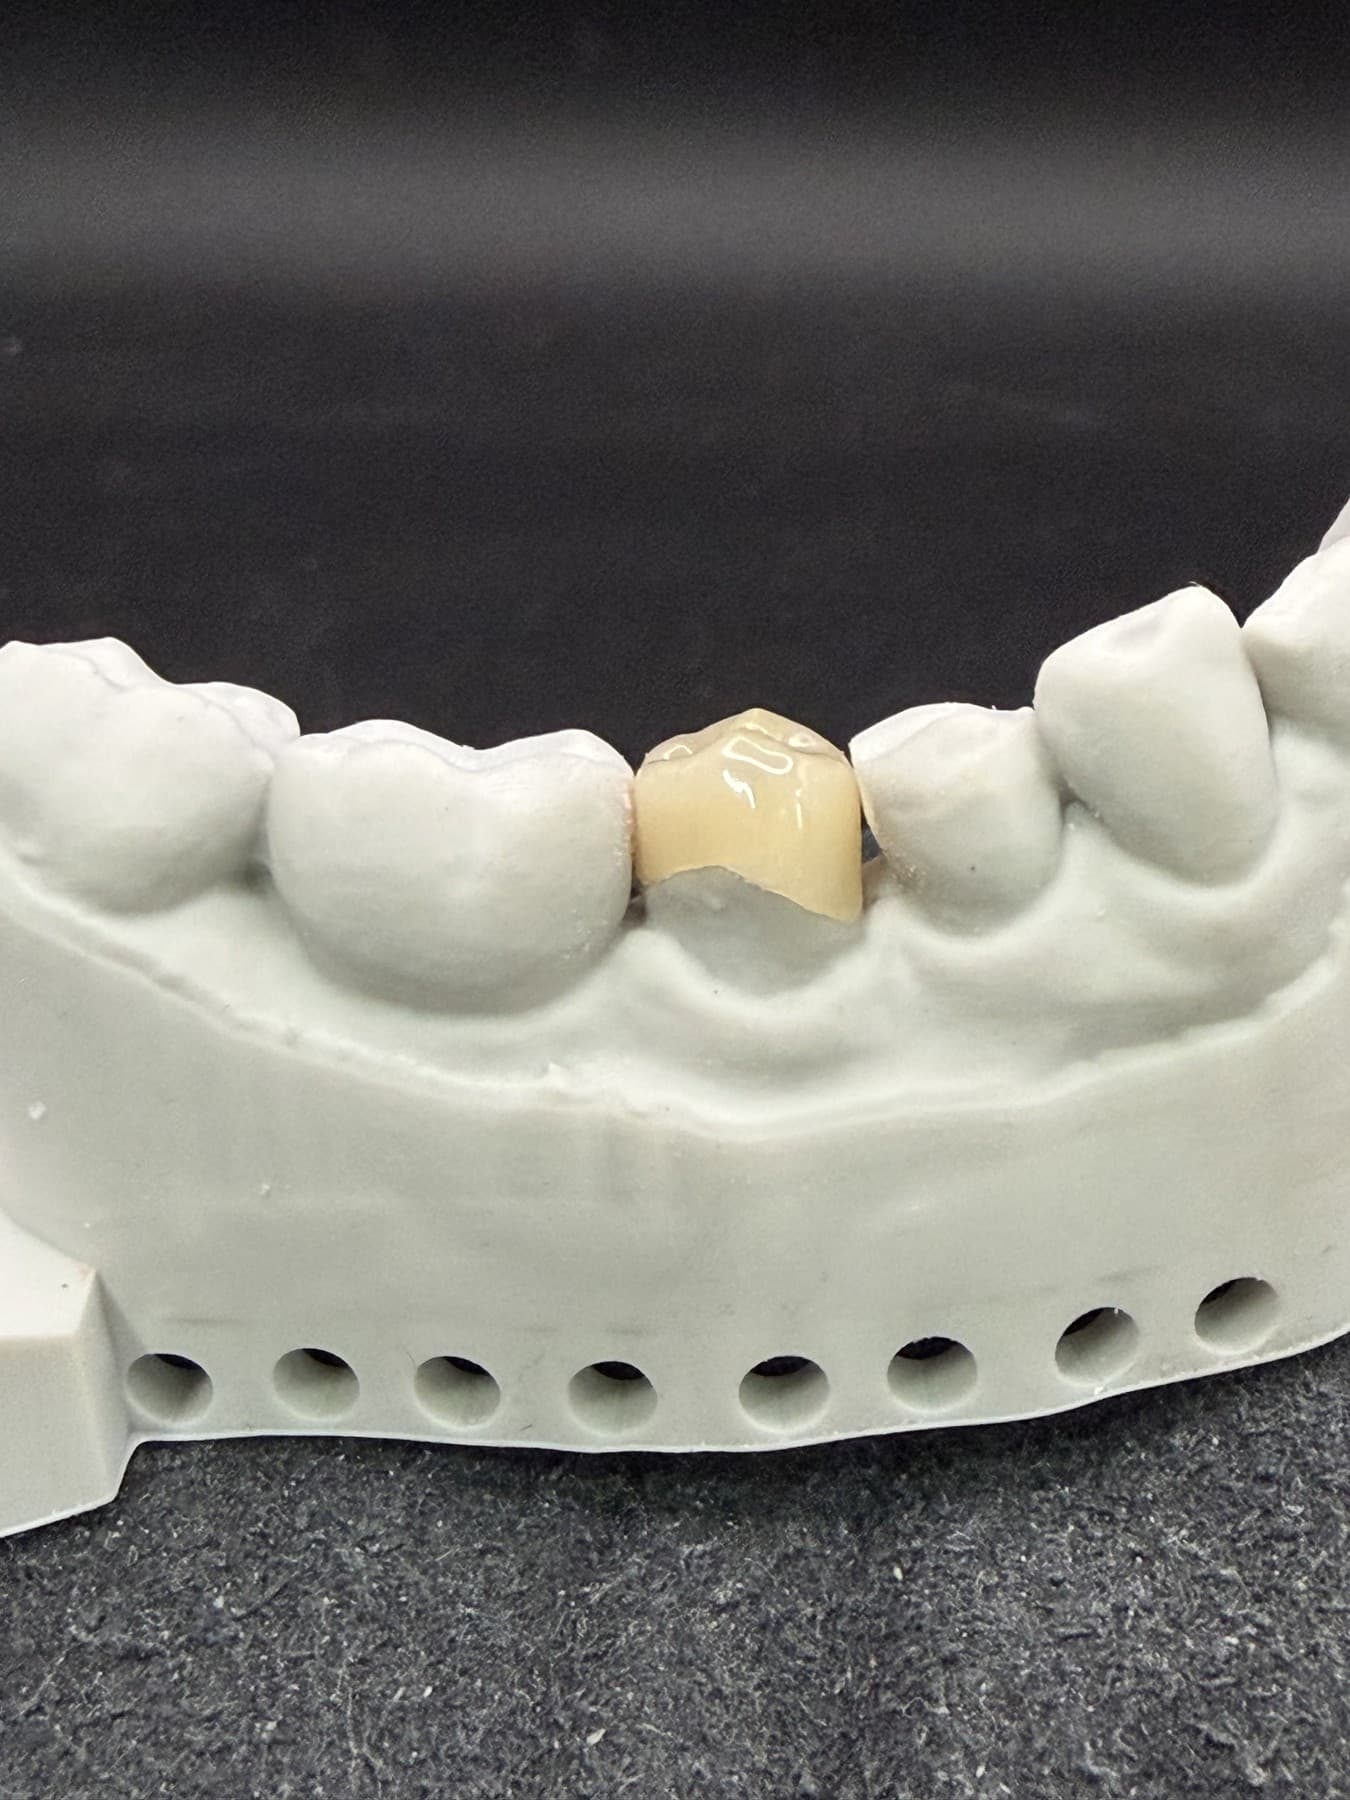
With the space restored, we could make the LR5 crown to its ideal anatomical form, with a good contact area against the LR4 and a clean path of insertion.
This example demonstrates how guided tooth reduction can help address limited restorative space when adjacent teeth have drifted into the area. Planning the adjustment on the model gives the clinician a clear reference when carrying out the procedure.
A few minutes of planning in the laboratory saves time in the surgery, protects tooth structure and makes the final restoration far more predictable. It’s a simple example of how close collaboration between clinician and technician leads to better outcomes for the patient.
“Have a case where drifting has closed the space? Send us the scan or impression and we’ll plan the reduction with you.”
Ready to Work With Ambridge Ceramics?
Talk to our dental laboratory team about your restoration requirements and laboratory workflow. Experience consistent quality, digital precision, and technician-led technical support for your implant cases.