Seeing through the problem: discoloured preps and translucent all-ceramic restorations
Highly translucent all-ceramic restorations are hugely popular, and for good reason. They let light pass through much as natural enamel does, giving a lifelike vitality that’s hard to match with more opaque materials.
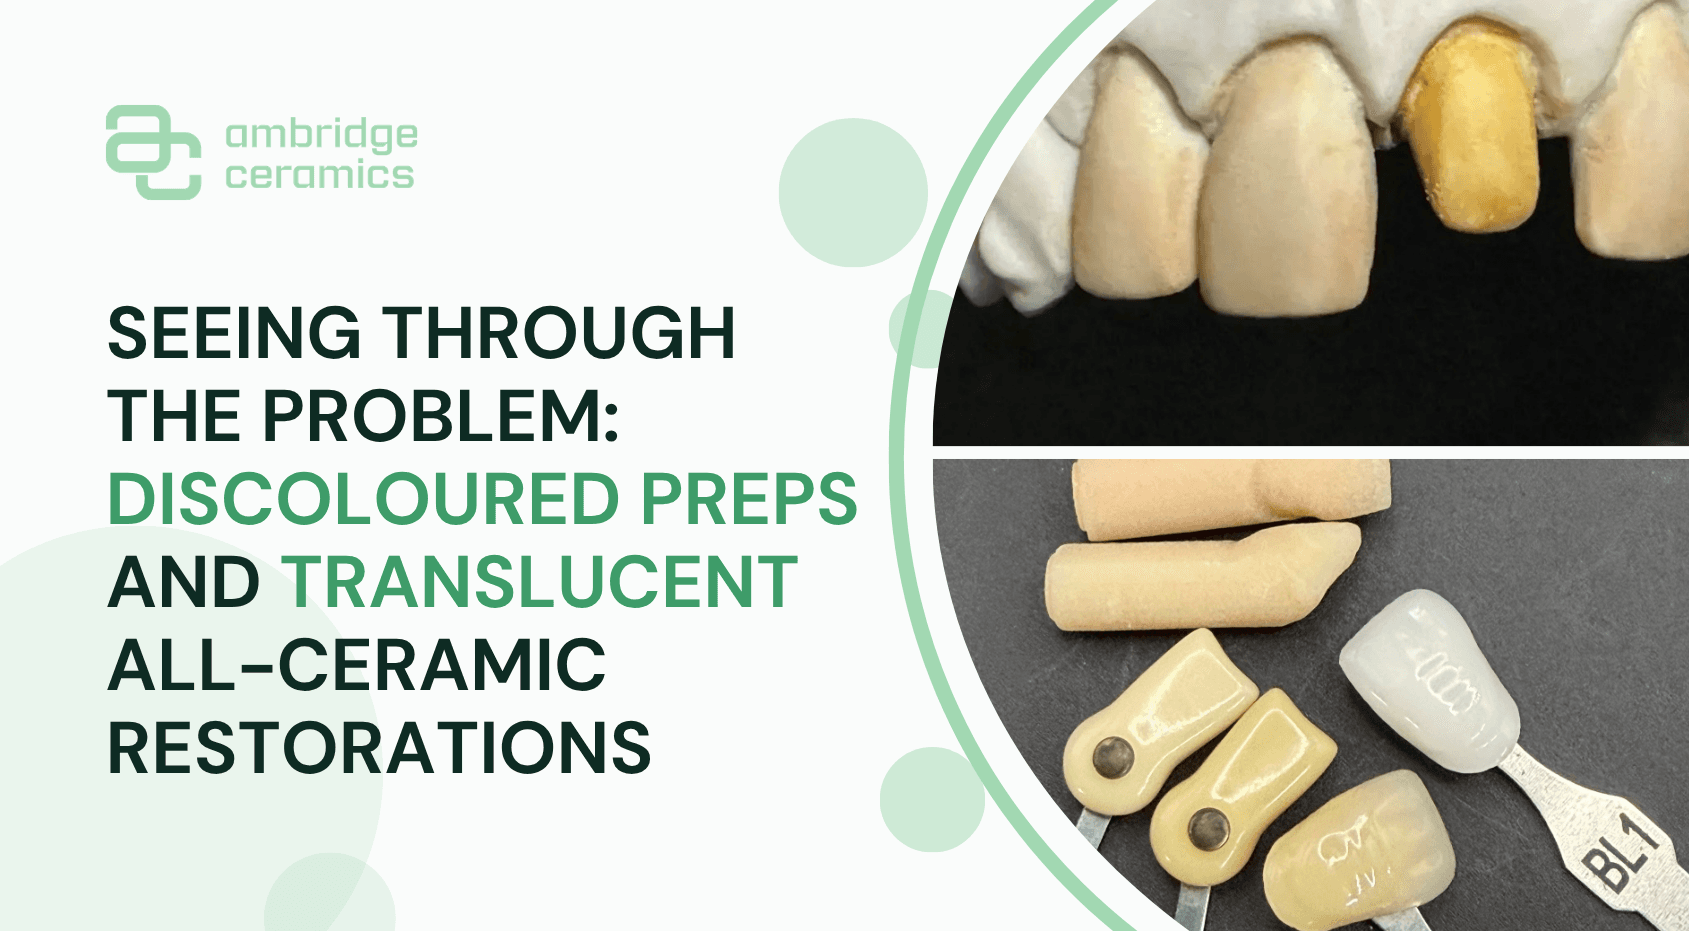
That same translucency has a catch. Whatever lies underneath the restoration affects how it looks. When a tooth the preparation is discoloured, for example a darkened, non-vital tooth, that stronger underlying colour can “shine through” the ceramic. Once the restoration is cemented, the final shade can be changed, undoing all the careful work, effort and harmony achieved and leaving it standing out against the neighbouring restorations.
This case is a good example. The clinician requested translucent all-ceramic restorations across several anterior teeth, but the UL1 prep was noticeably darker than the others. Each prep needed its own approach to give a harmonious result across the whole smile.
Step 1: Capturing the prep shades
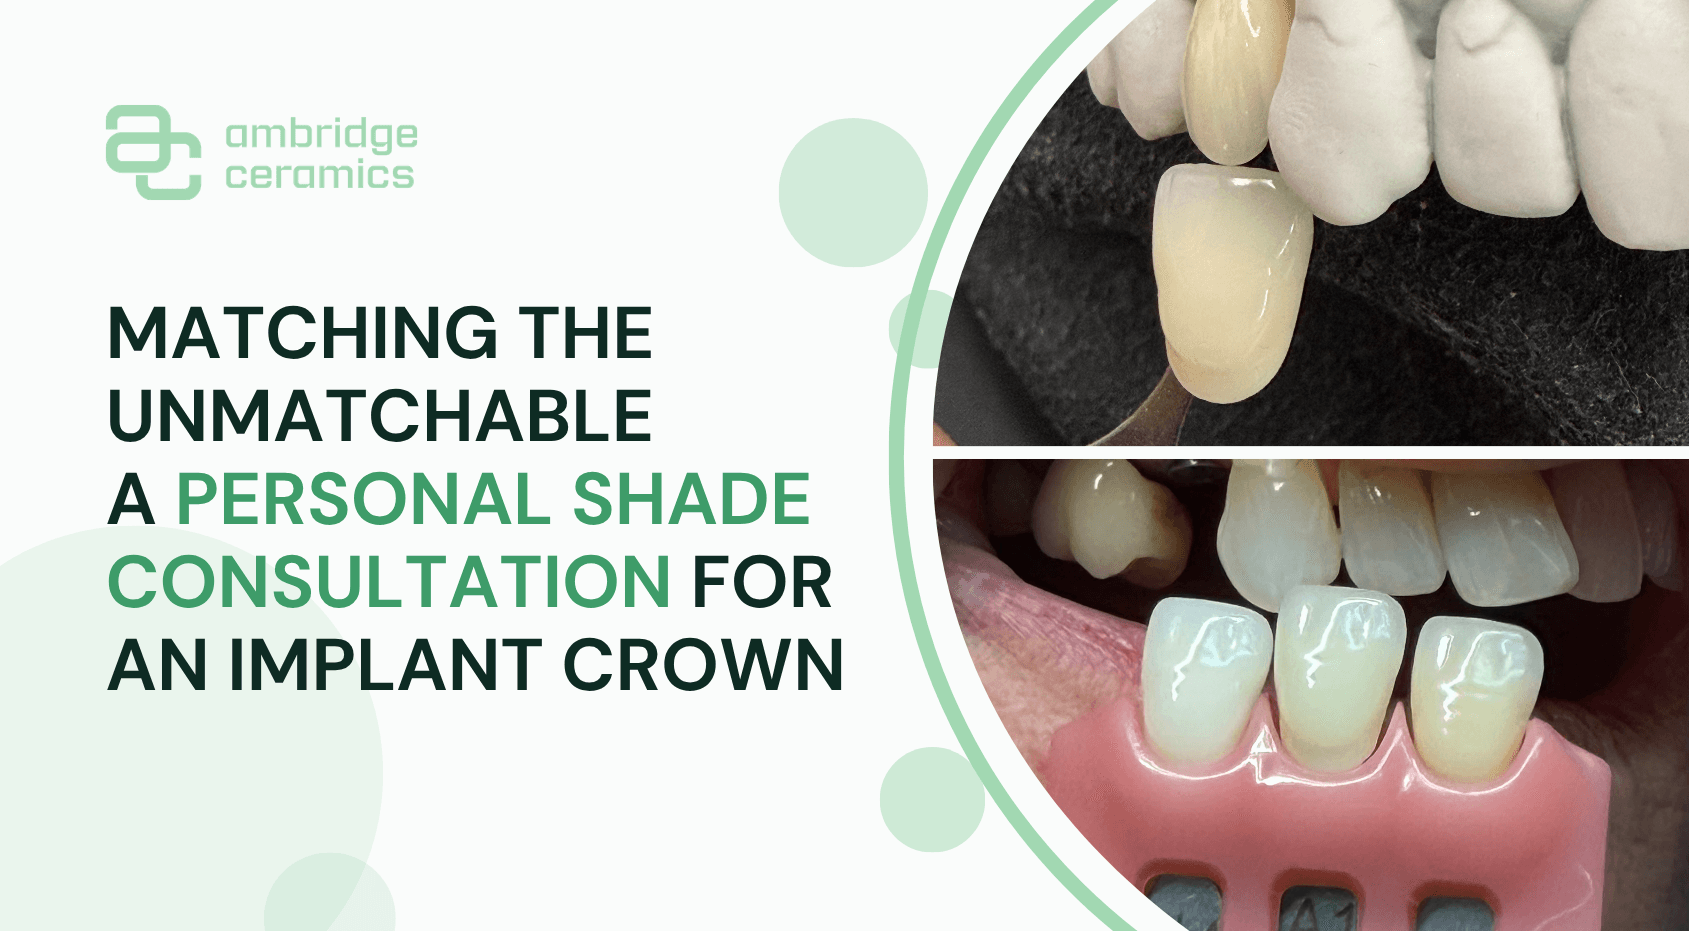
The clinician supplied photographs of the preps taken with the Ivoclar ND shade guide, which is designed specifically for recording the colour of the prepared tooth rather than the final restoration. That told us exactly what each restoration had to work over.
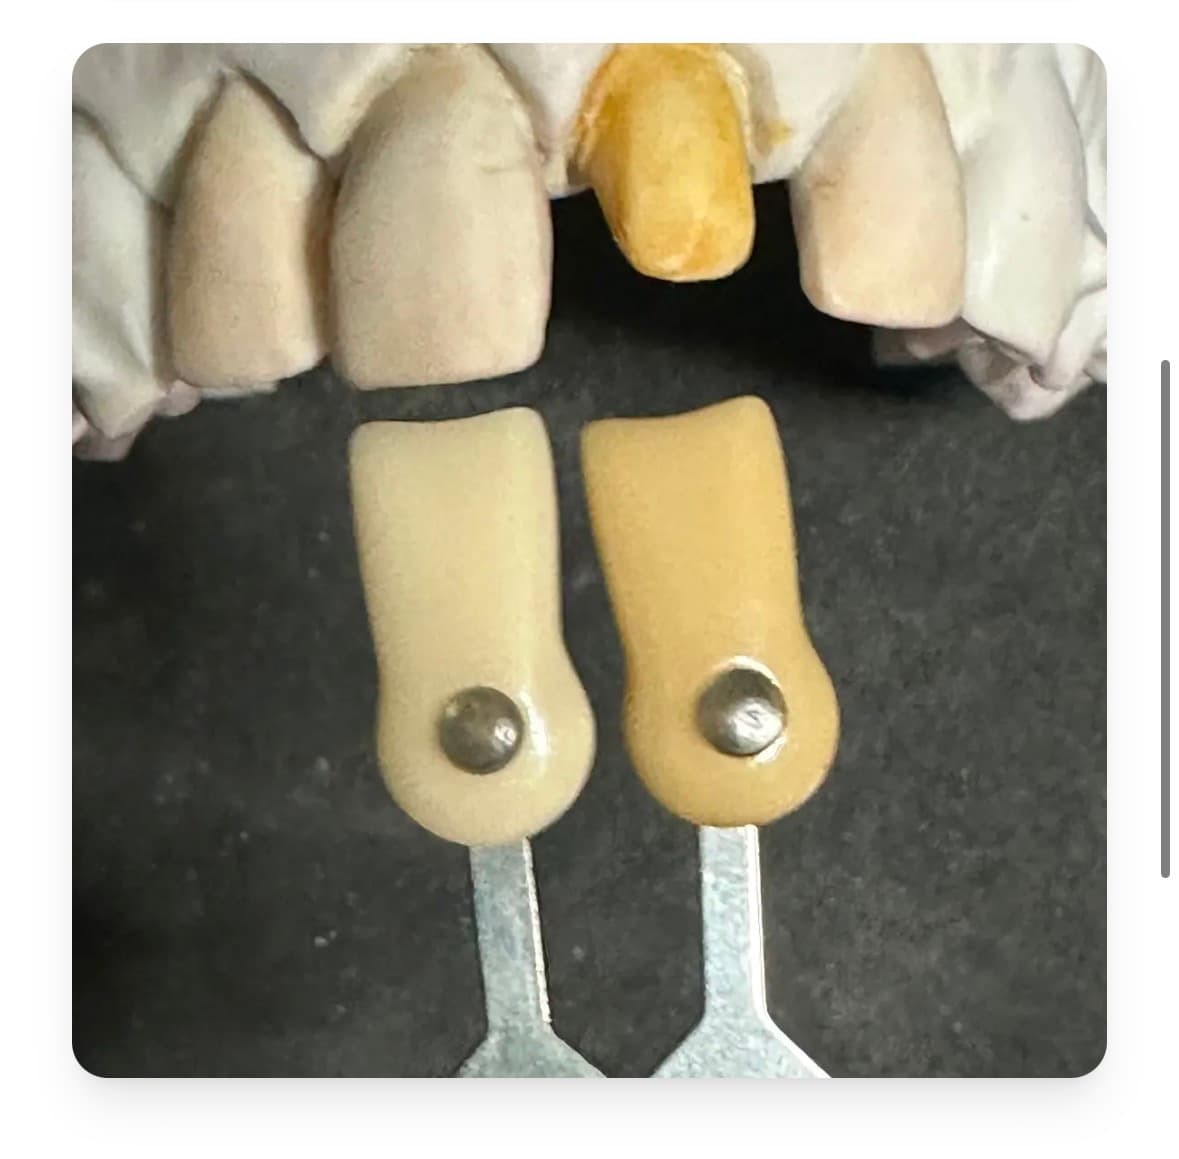
Using simple coloured marker pens, we transferred those shades from the photographs onto the working model. Each die then showed the colour of the prep it represented, so the technician could see the challenge in front of them throughout the build.
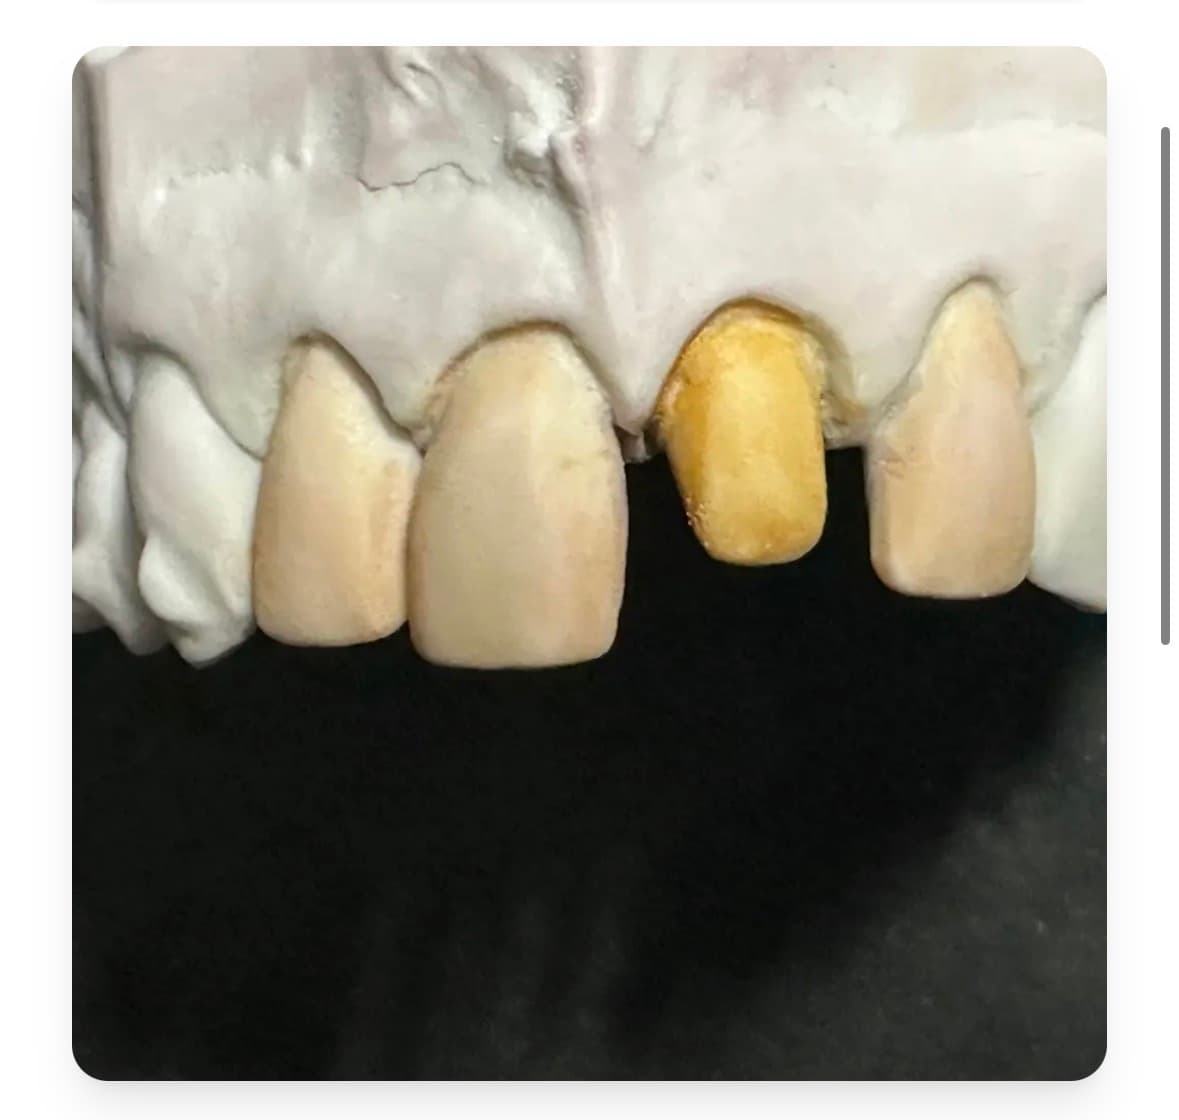
Step 2: Checking the shades
Next, we checked the transferred shades against the clinician’s images using the Ivoclar ND shade guide, to make sure what we’d marked on the model matched what was in the mouth.
Step 3: Building the restorations
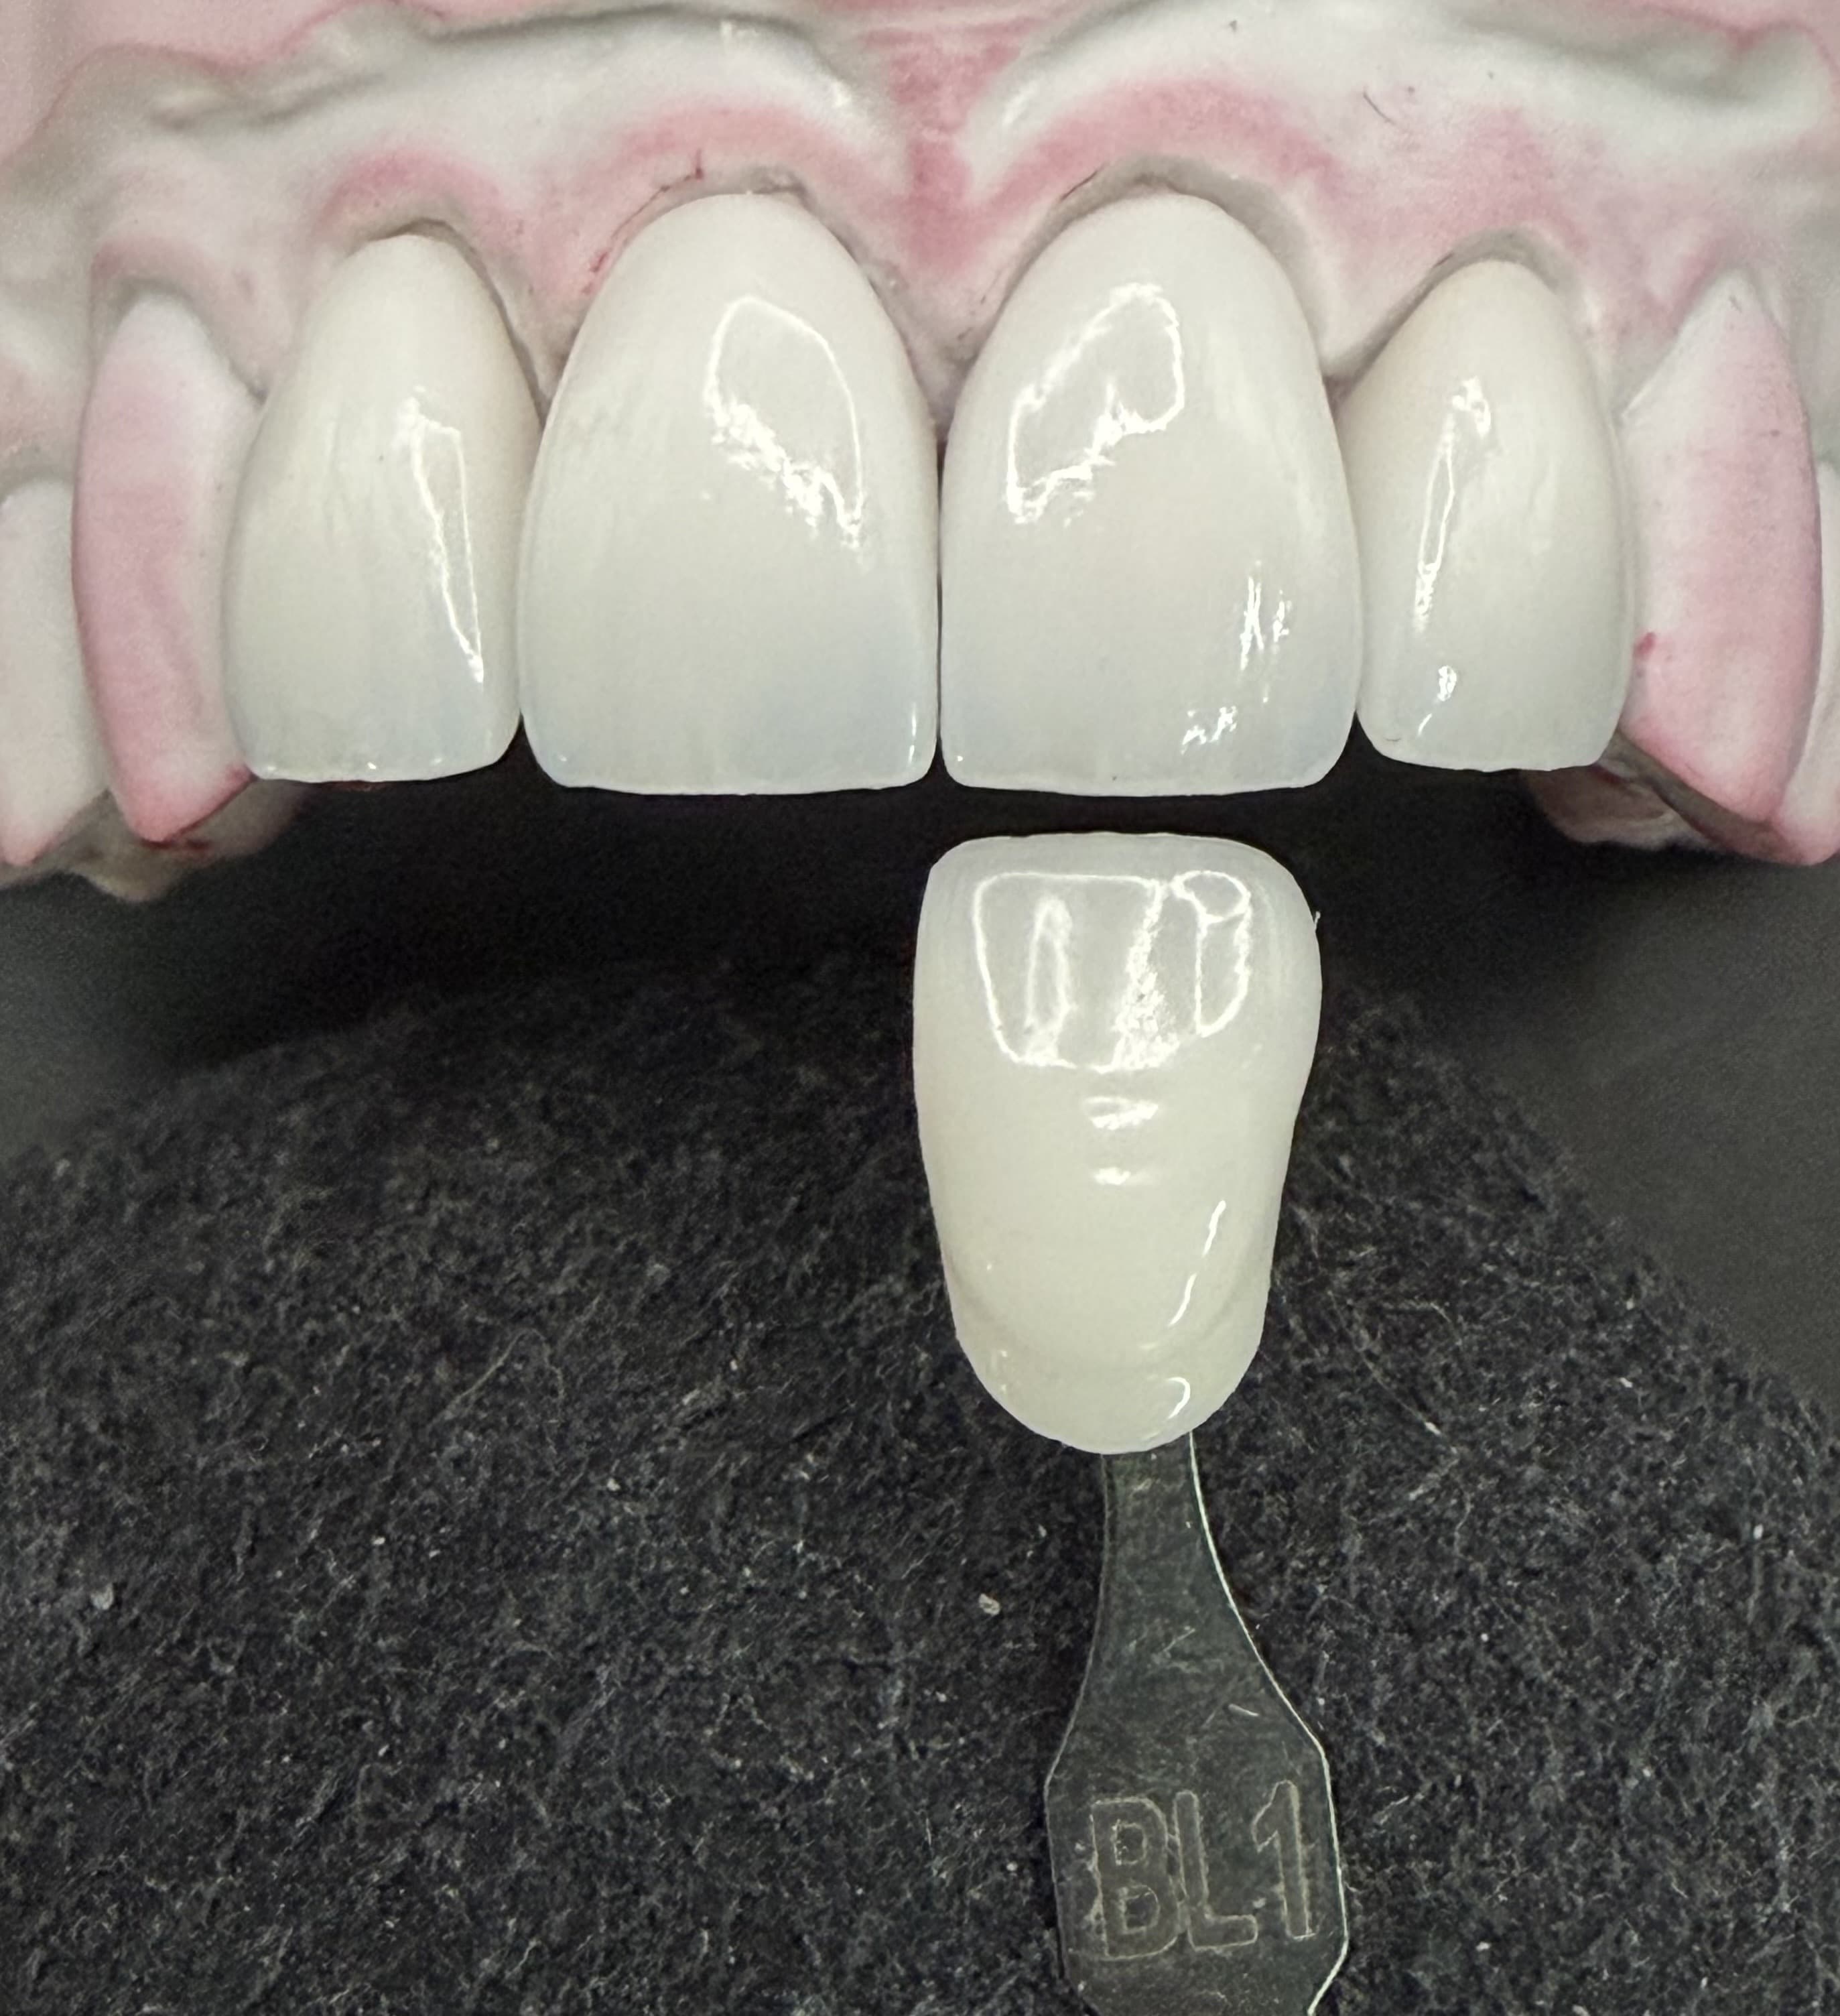
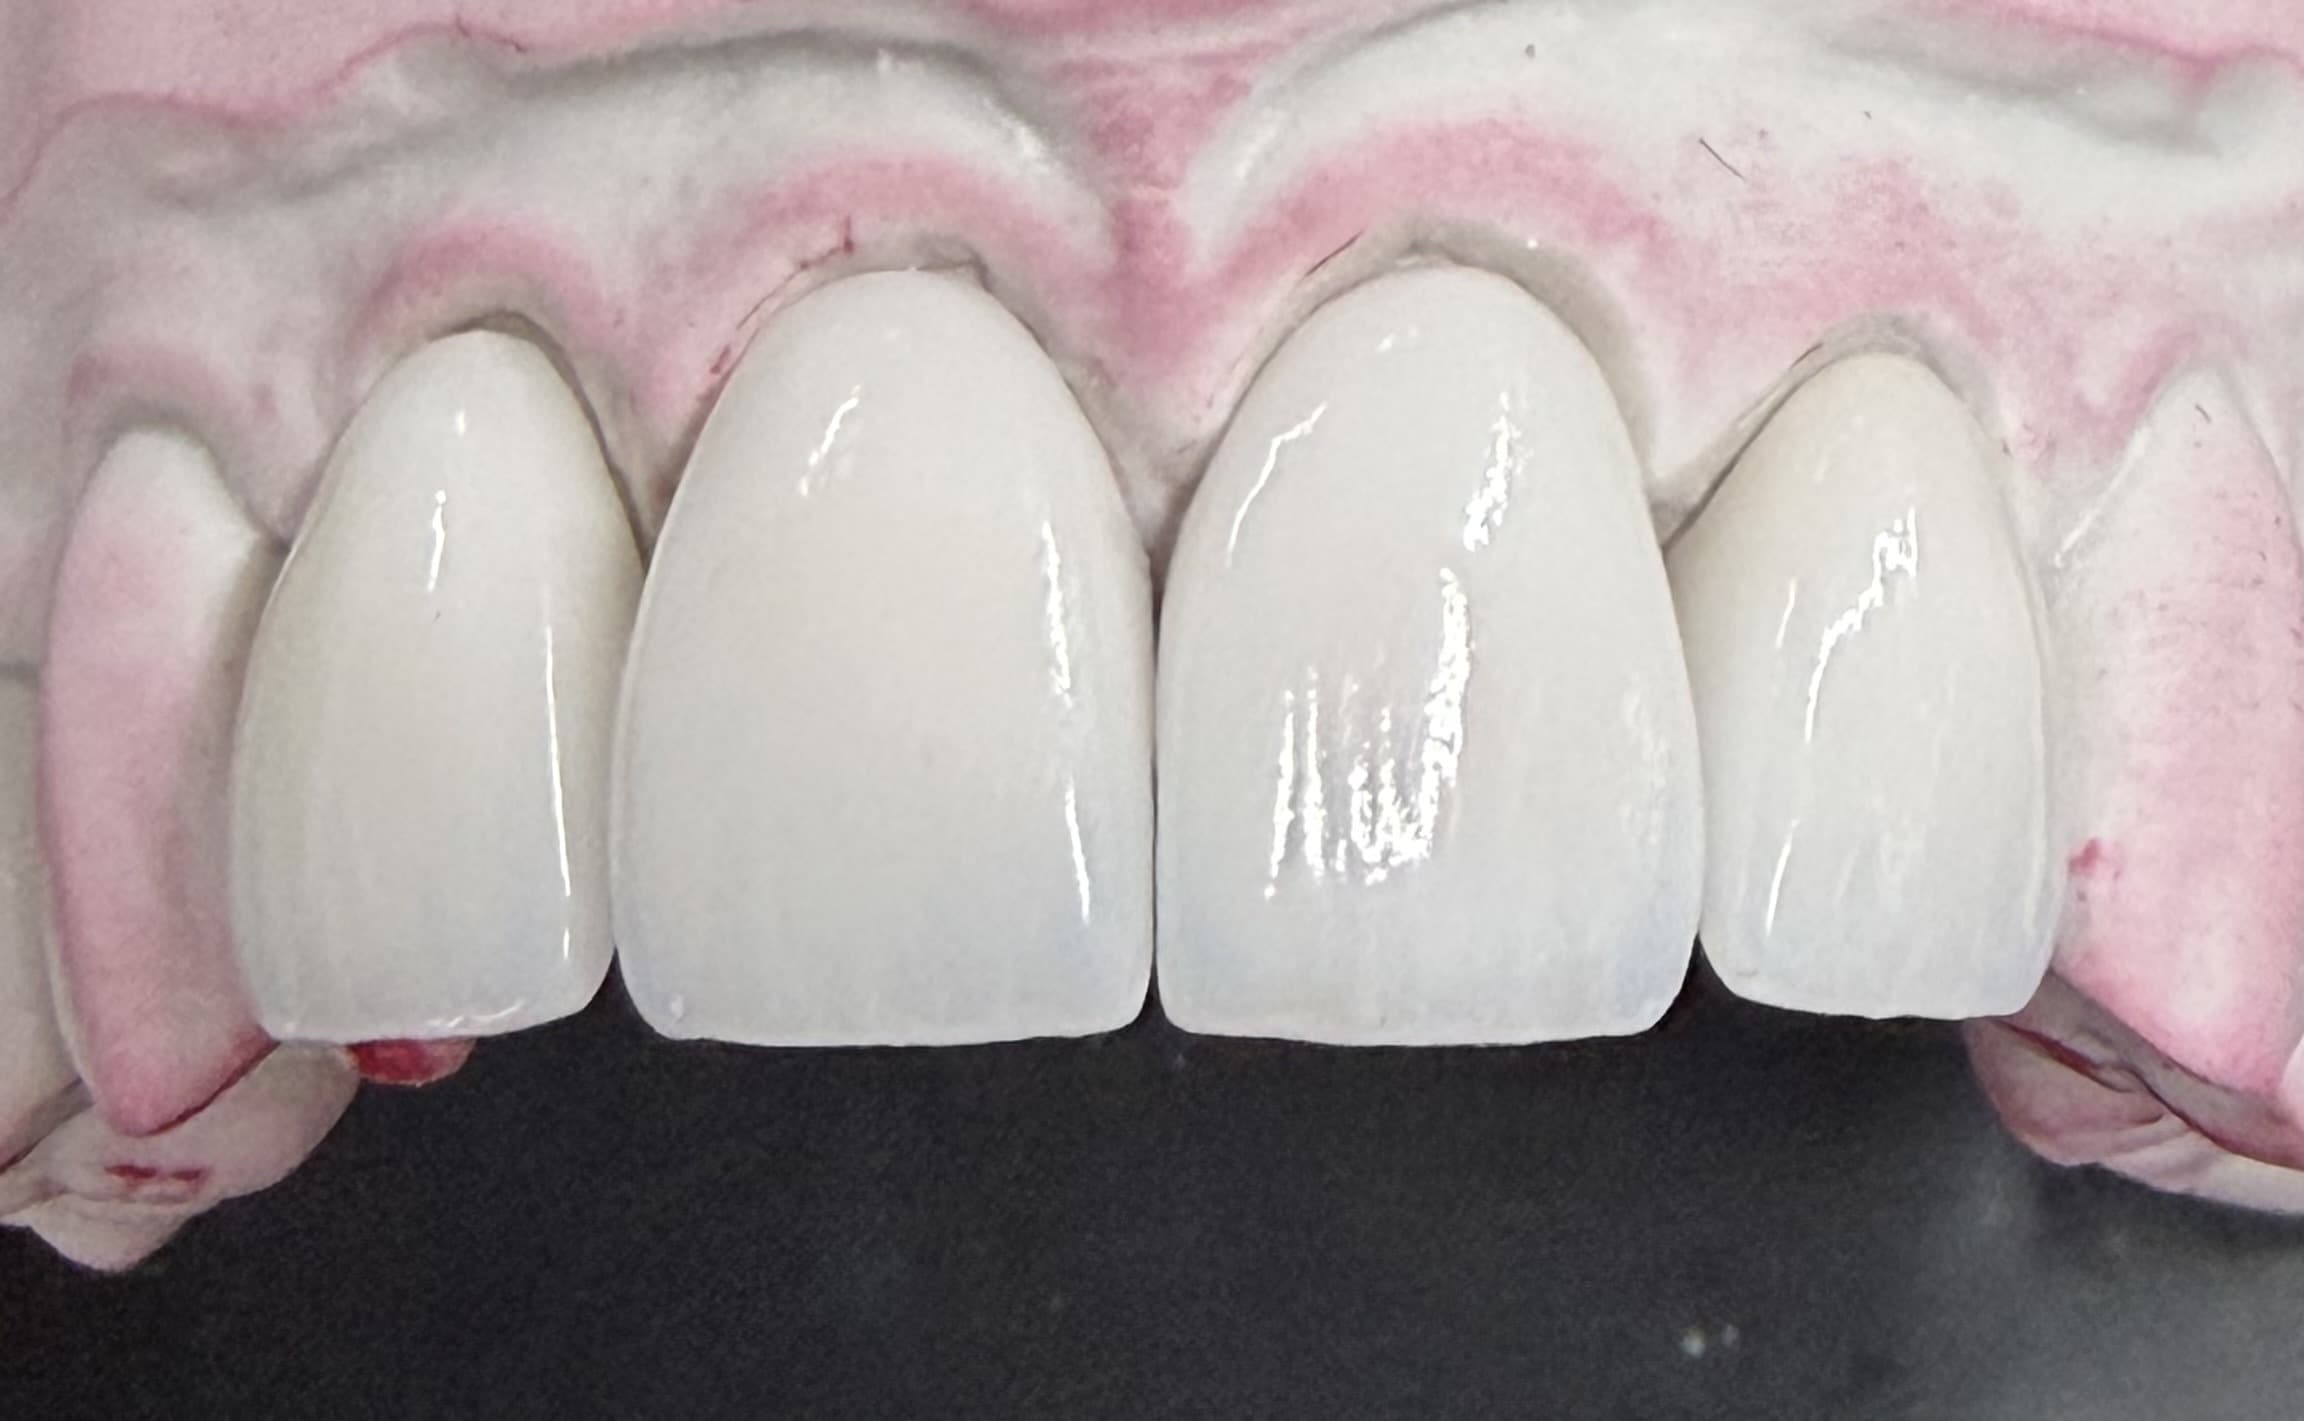
Knowing the exact colour of each prep, we could control the opacity of each restoration individually. Over the darkened UL1, the ceramic was built to mask the discolouration in the body of the tooth. Over the lighter preps, more translucency could be kept. Across all of them, the incisal edges kept the natural translucency the clinician asked for.
Taking it further: printing preps in their true shade
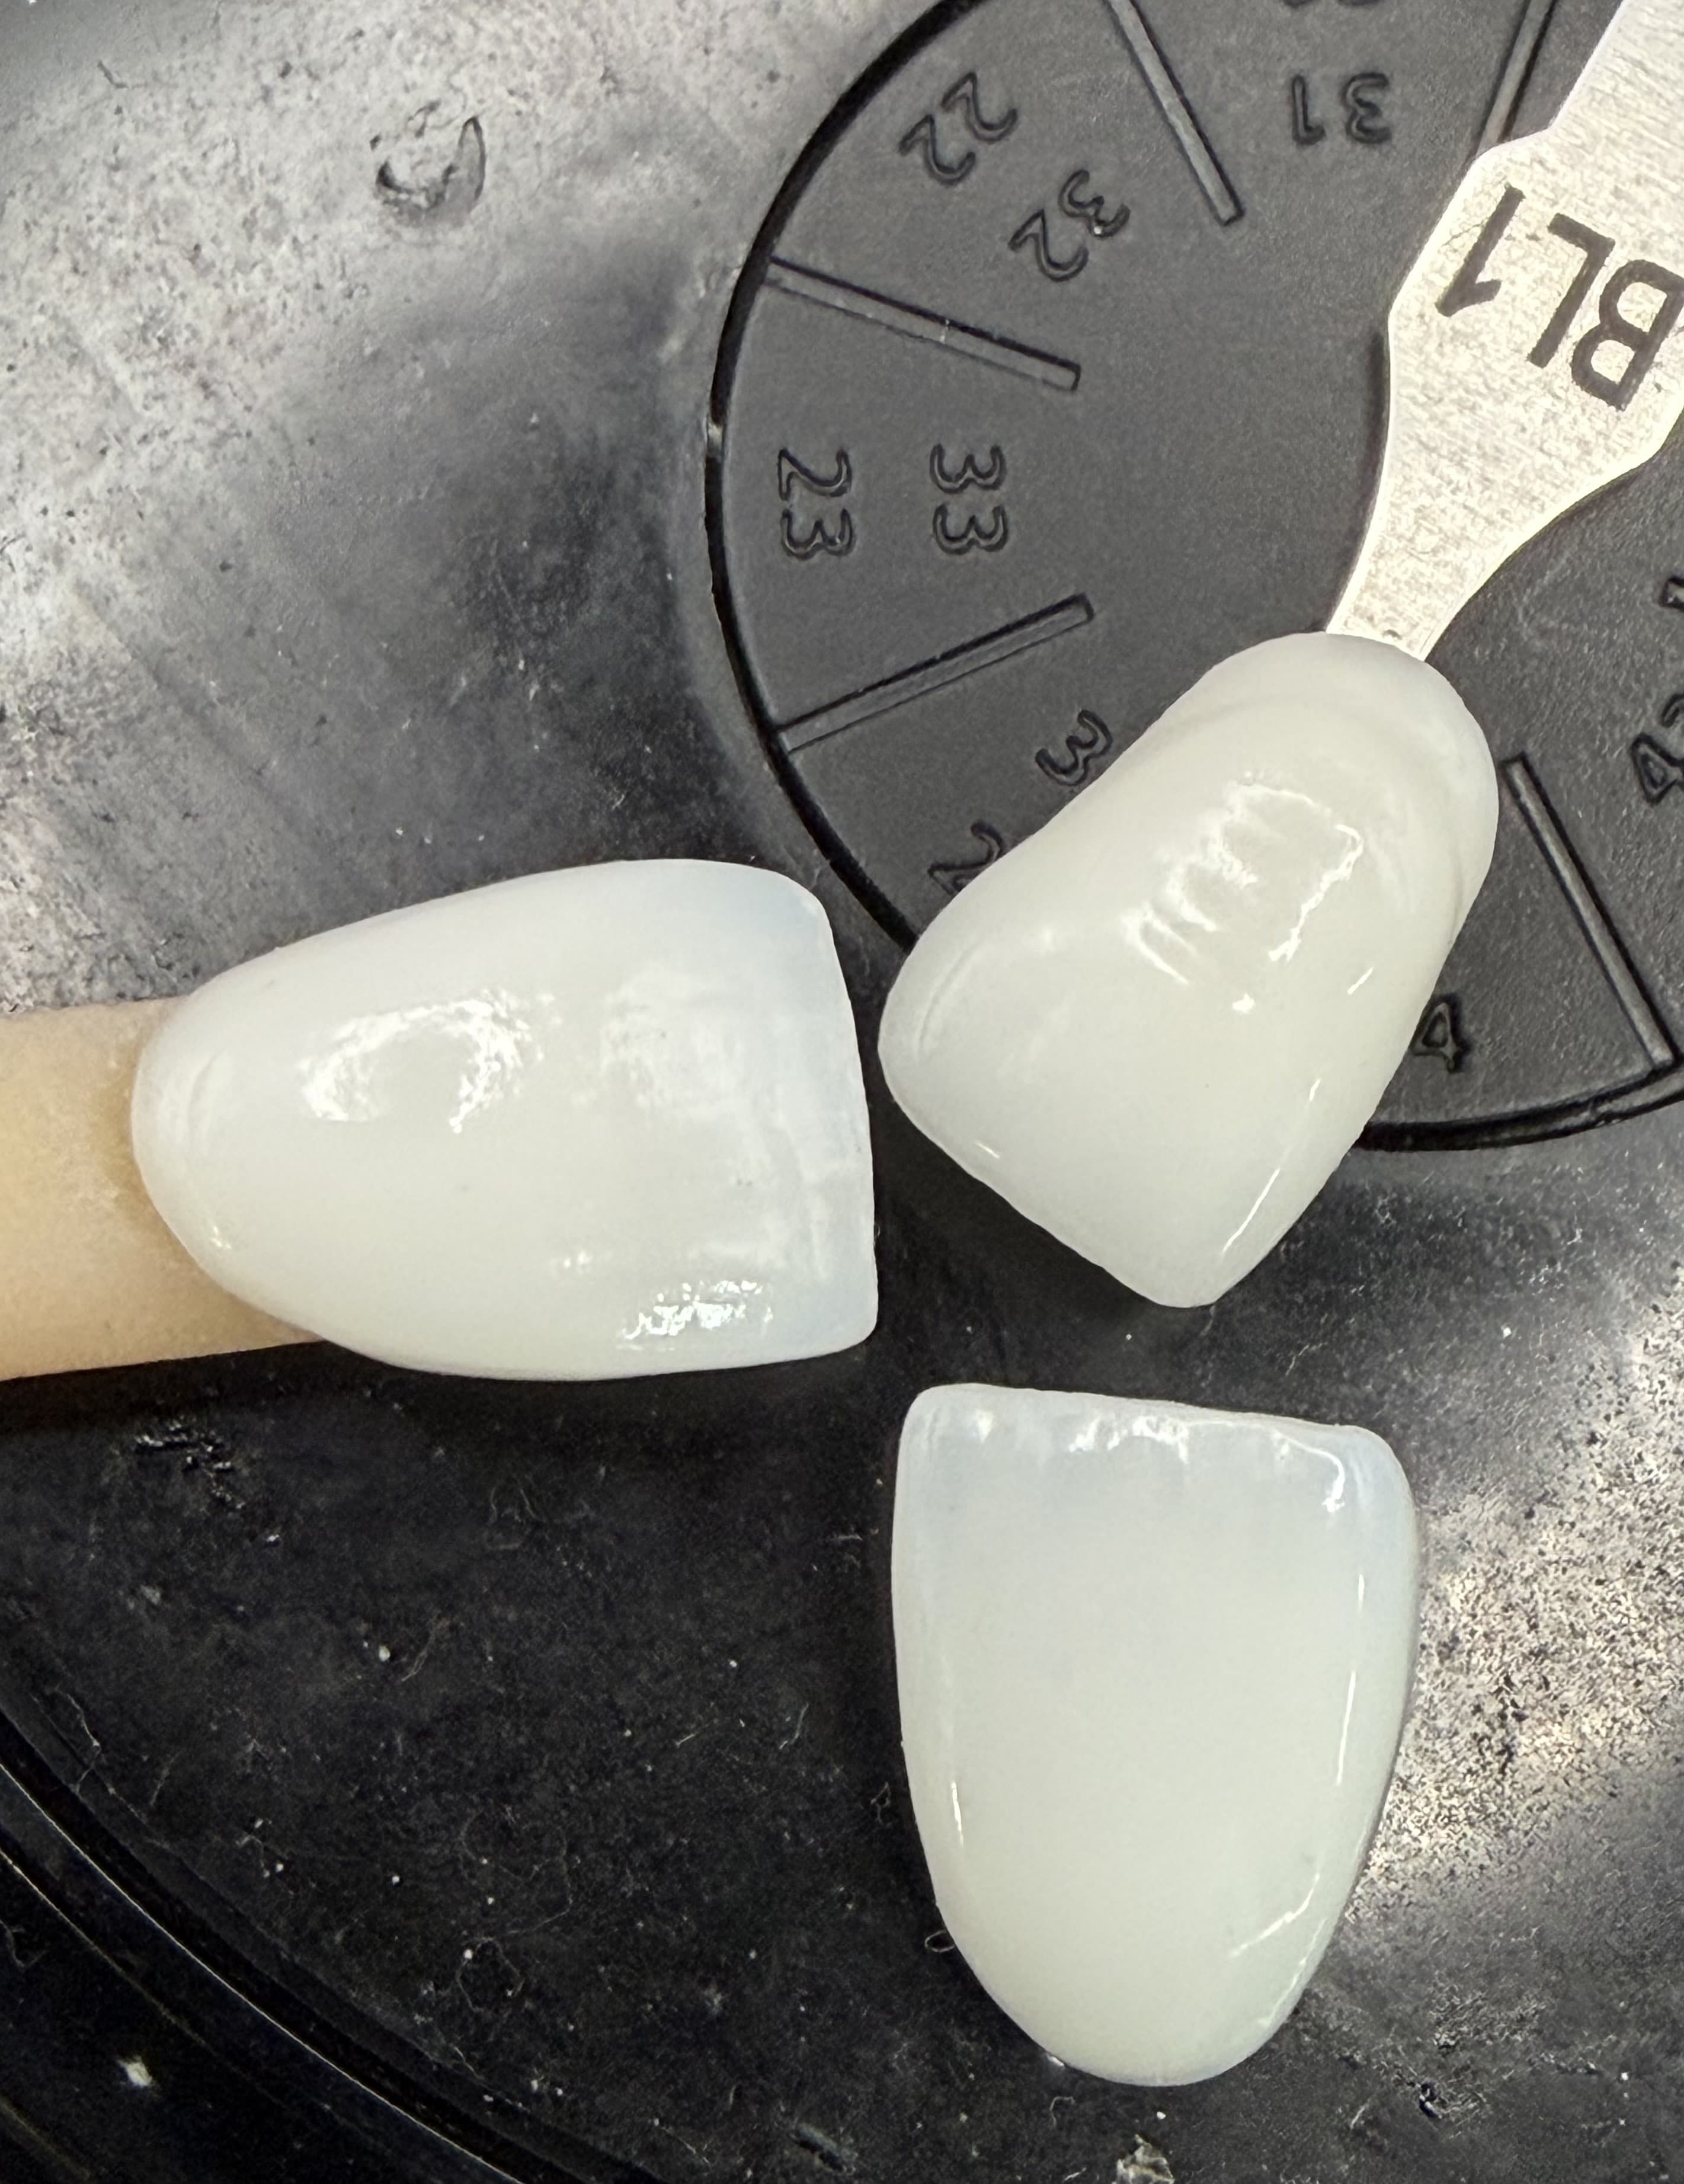
With the new technology we’ve invested in at the laboratory, we can now go a step further. Instead of colouring the dies by hand, we can print each individual prep in the exact ND shade it presents in. The technician then sees precisely what the clinician sees, and the finished restoration can be checked against a true replica of the prep before it ever leaves the laboratory.
Why it matters
With translucent ceramics, the restoration is only half the story; the prep beneath it is the other half. Recording the prep shade and sharing it with the laboratory takes the clinician just a moment, and it makes the difference between a restoration that looks grey and one that blends in naturally.
Top tip for clinicians: when preparing for translucent all-ceramic restorations, photograph each prep alongside an ND shade tab and send it with the case. We’ll do the rest.
Have a case involving discoloured preparations and translucent ceramic restorations?
Share your preparation photographs with our team, and we can discuss the most appropriate approach to managing the underlying shade.
Ready to Work With Ambridge Ceramics?
Talk to our dental laboratory team about your restoration requirements and laboratory workflow. Experience consistent quality, digital precision, and technician-led technical support for your implant cases.